Improper probe cover application is documented as a contributing factor in approximately 12% of ultrasound-associated infection outbreaks, per a 2020 review in Infection Control & Hospital Epidemiology. The CDC Healthcare Infection Control Practices Advisory Committee (HICPAC) emphasizes that breach of barrier integrity during application is a preventable error. Adherence to a standardized protocol reduces contamination events by an estimated 85% according to simulation-based research published in the Journal of Clinical Ultrasound.
Perform surgical hand antisepsis per WHO "Five Moments for Hand Hygiene" guidelines. For sterile procedures, don sterile gloves after hand preparation. For non-sterile examinations, clean examination gloves are acceptable per AAMI ST91 Spaulding classification.
Establish a sterile field if performing an invasive procedure. Position all necessary equipment within easy reach to minimize unnecessary movement.
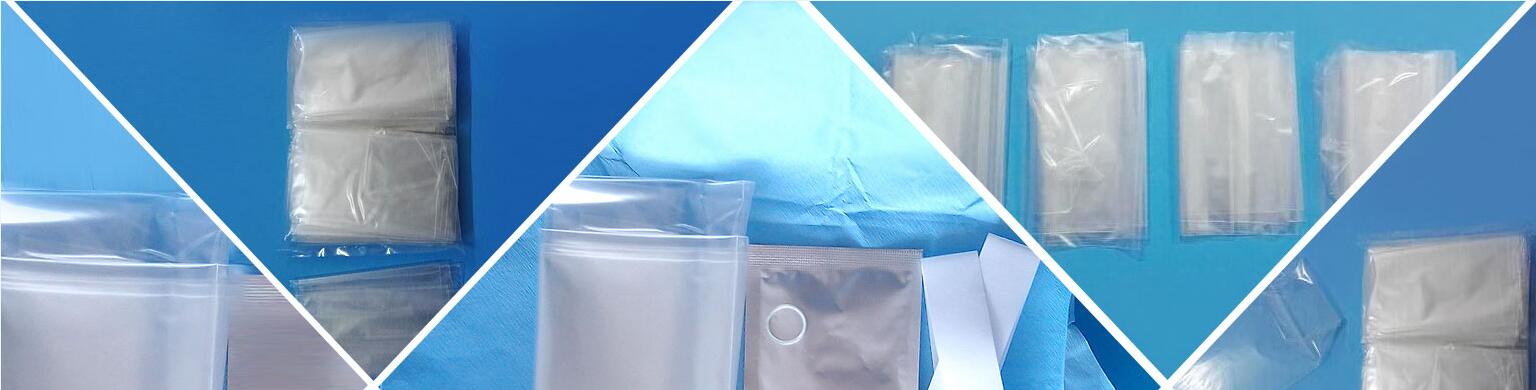
Open at the designated peel point using a controlled motion. The external packaging tab should be the only surface contacting non-sterile hands. Avoid tearing that may create particulate contamination.
Apply 3-5 mL of sterile ultrasound gel to the transducer face inside the cover. Alternatively, use a single-use sterile gel packet applied inside the cover before probe insertion. Research shows this technique eliminates 95% of acoustic artifacts from air entrapment compared to gel applied outside the cover.
With the non-dominant hand holding the cover opening, insert the transducer using the dominant hand in a single smooth motion. Maintain 2-3 cm clearance between your hand and the cover opening to prevent contamination. Do not force the probe — if resistance is encountered, select the next size rather than stretching the cover beyond its designed limits.
Smooth the cover from the transducer face proximally along the cable using a sweeping motion. Air pockets larger than 1 mm can cause significant acoustic shadowing at frequencies above 5 MHz. Perform a test image acquisition to confirm artifact-free visualization before beginning the clinical examination.
Extend the cover fully along the probe cable. Secure using the integrated elastic retention band or medical-grade adhesive strip. The securement point should be at minimum 10 cm from the transducer face to maintain barrier integrity during probe manipulation.
| Error | Consequence | Prevention |
|---|---|---|
| Cover too short | Incomplete barrier, contamination risk | Verify length > probe + cable segment before opening |
| Air bubbles at transducer face | Acoustic shadowing, diagnostic image degradation | Apply gel inside cover, inspect visually post-application |
| Contamination during donning | Sterile field breach, procedure must be repeated | Practice one-handed donning technique |
| Cover perforation by sharp instruments | Immediate barrier loss | Keep needles, scalpels away from covered probe |
Remove cover by peeling from the secured end toward the transducer — this minimizes aerosol generation and contamination spread. Dispose as regulated medical waste per local biohazard regulations. Perform high-level disinfection of the transducer per manufacturer IFU and AAMI ST91 requirements between patient use, even when covers were employed, as covers can have microscopic defects not visible to the naked eye.
